
Create a Password-Protected Freebie Page on Squarespace
One extremely strategic page you should consider for your site is a freebie page.
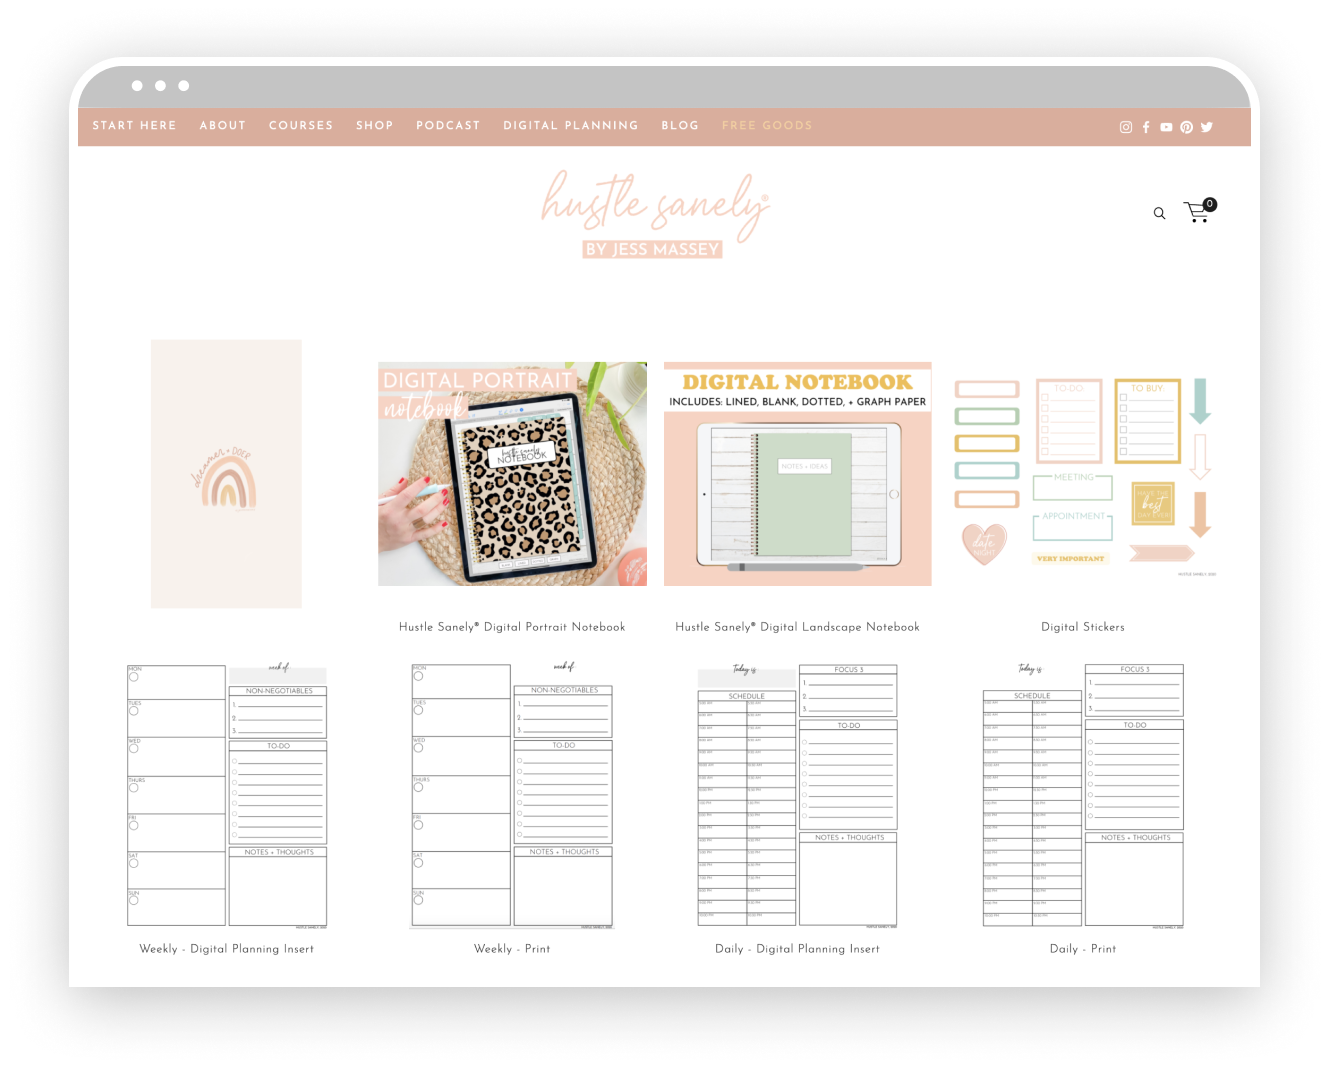
An example using Jess Massey’s free goods page (7.0)
There are so many benefits to offering free resources on your website.
They serve and help you find your ideal client.
Your freebies should attract the type of clients you want to work with. People want access to resources that will help solve their problem. If you offer the solution, they’ll come right to you.
They can grow your email list.
This one’s logistical. People will essentially trade for the password to your free, jam-packed resources page with their email address. Now you have direct access to those ideal clients’s inboxes!
They build trust between you and your audience.
Everybody loves something free. Once people see more of your content and receive something from you, a relationship and trust is established.
They show off your expertise.
Your freebies should also lead people to want to work from and/or buy from you. Create free goods that show off what you do in your business, which will build more trust. Show your audience that you truly can solve their problems.
They create a feeling of exclusivity.
Having a page that only your email list has access to gives off a level of exclusivity—in a good way! It makes it feel like your content is exclusive and highly desirable. Everyone wants to know what’s behind that lock page!
We also want it to be as simple as possible, so the method we’re going to use will allow people to click on your resource, and it will open in a new window, where they can download it straight to their device.
So let’s do it.
The tutorials below are split between Squarespace 7.0 and 7.1. At a few points, they have similar instructions, so I’ve only included those once. If you’re not sure which platform you’re using, head to the Help menu from your website’s main menu, and you should see there which platform your website is on.
For Squarespace 7.0
1. Create a New Page
Create a new page in Squarespace. Add some heading text, welcoming people to the freebies page, as well as some text that tells people to click on your resources below to download.
2. Add the Gallery Grid Block

Gallery Grid Block
Let the block span across the whole page, because this is where your resources will go. Select the option Upload Media (as opposed to Use Existing Gallery).
The reason I personally like using the Grid Block for this, is because it lays everything out so nicely. Especially, if your resources/freebies are all different sizes and aspect ratios. (See the example freebie page screenshot) It keeps everything looking orderly and tidy, even if some of the content is not.
For Squarespace 7.1
1. Create a New Page
Create a new page in Squarespace and add a blank section. Add some heading text, welcoming people to the freebies page, as well as some text that tells people to click on your resources below to download.
2. Add a Gallery Section
Under that text section, click the blue (+) to add a new section. Instead of blank, select a Gallery Section. Select any of the options that appear (we’ll change it in a second), and a gallery section should add on to your page.
Click the little pencil icon in the righthand corner, and switch the GALLERY STYLE to Grid: Strips. This is the closest I’ve found to the 7.0 Gallery Grid Block. I prefer this layout because it won’t crop your images to one aspect ratio. If your freebies are all one aspect ratio, feel free to try out another layout.
Next, click the little image icon to the left of the pencil to see all the images in the gallery. You’ll probably have some placeholder images there (unless Squarespace decides to change that by the time you read this, which I don’t doubt could happen). Select the first image, hold Shift, and select the last image to highlight them all, then delete them. Now you’ve got a blank gallery section.
3. Take Screenshots of Your Freebies (7.0 and 7.1)
If your resources are images (png, gif, or jpeg):
Go ahead and upload them straight to the gallery by dragging them in or finding them in the browser window that appears when you click Upload Images. You can skip on down to the next step!
If your resources are NOT images:
Here’s the deal: You can only upload images to the Grid Block. No PDFs. So we’re going to have to make your PDFs images. The easiest way to do this is by using the screenshot feature. (You can also open your PDFs in a photo app and export them as images, but this is usually faster.)
So open your PDF so it’s nice and big on your screen, then take a screenshot! For MAC: Cmd + Shift + 4 will allow you to drag and select what part of the screen you want to screenshot. For Windows… I’m not gonna lie, I’ve never really used PCs before 😅 I’m sure that Google has the answer!
Once you have your screenshots of your resources, upload them straight to the gallery by dragging them in or finding them in the browser window that appears when you click Upload Images.
For Squarespace 7.0 (cont.)
4. Link the Image to your Download

Now is when your actual PDF or resource file comes in. In the Gallery Block window, hover over the image you want to link and click the settings wheel.
In the window that appears, enter your image title in the top box. This is the title that will appear under your images so people know what they are.
No we’re going to link the file! Click the very bottom black box that says Click to add URL and select File. Drag the PDF or whatever your download file is to the Add New File section, or find any previously uploaded files by clicking Existing Files. Select your file, then make sure to click Apply in the bottom righthand corner.
5. Style the Gallery
You can rearrange the order of your files by dragging and dropping the images in the Gallery Block window.
To get rid of the aspect ratio and cropping like I mentioned before, head over to the Design tab of the Gallery Block window. Uncheck the option that says Crop Images. Here you can also select how much space is between the images, and how many show up in each row.
You also want to make sure Open Links in New Window is checked.
For Squarespace 7.1 (cont.)
4. Link the Image to your Download
Now is when your actual PDF or resource file comes in. In the Gallery pop-up window, select the image you want to link.
On the righthand side of the window, enter your image title in the description box. This is the title that will appear under your images so people know what they are.
No we’re going to link the file! In the Link box, click the settings wheel. In the window that appears, click File on the lefthand side.
Here you can upload a new file or select any previously uploaded files. Make sure your file is selected with a little ✔️, and make sure the “Open in new window” selector is on. Select Save in the top lefthand corner. Repeat this with each file you want to link.
5. Style the Gallery
To edit the styles of your gallery section, click the little pencil icon. Here you can try out different gallery layouts, adjust spacing between images, add animations, and more.
If you want titles to appear under your images, make sure you scroll down in the styles window and turn on Captions.
Step 6. Set a Password (7.0 and 7.1)
Make sure you save the page you’ve been working on, and go back to the Pages menu in Squarespace. Hover over your free goods page, and click the Settings wheel that appears next to it. In that window, you’ll see a box where you can add your password. This will be the password people enter to access your free goods page, so make sure you remember it!
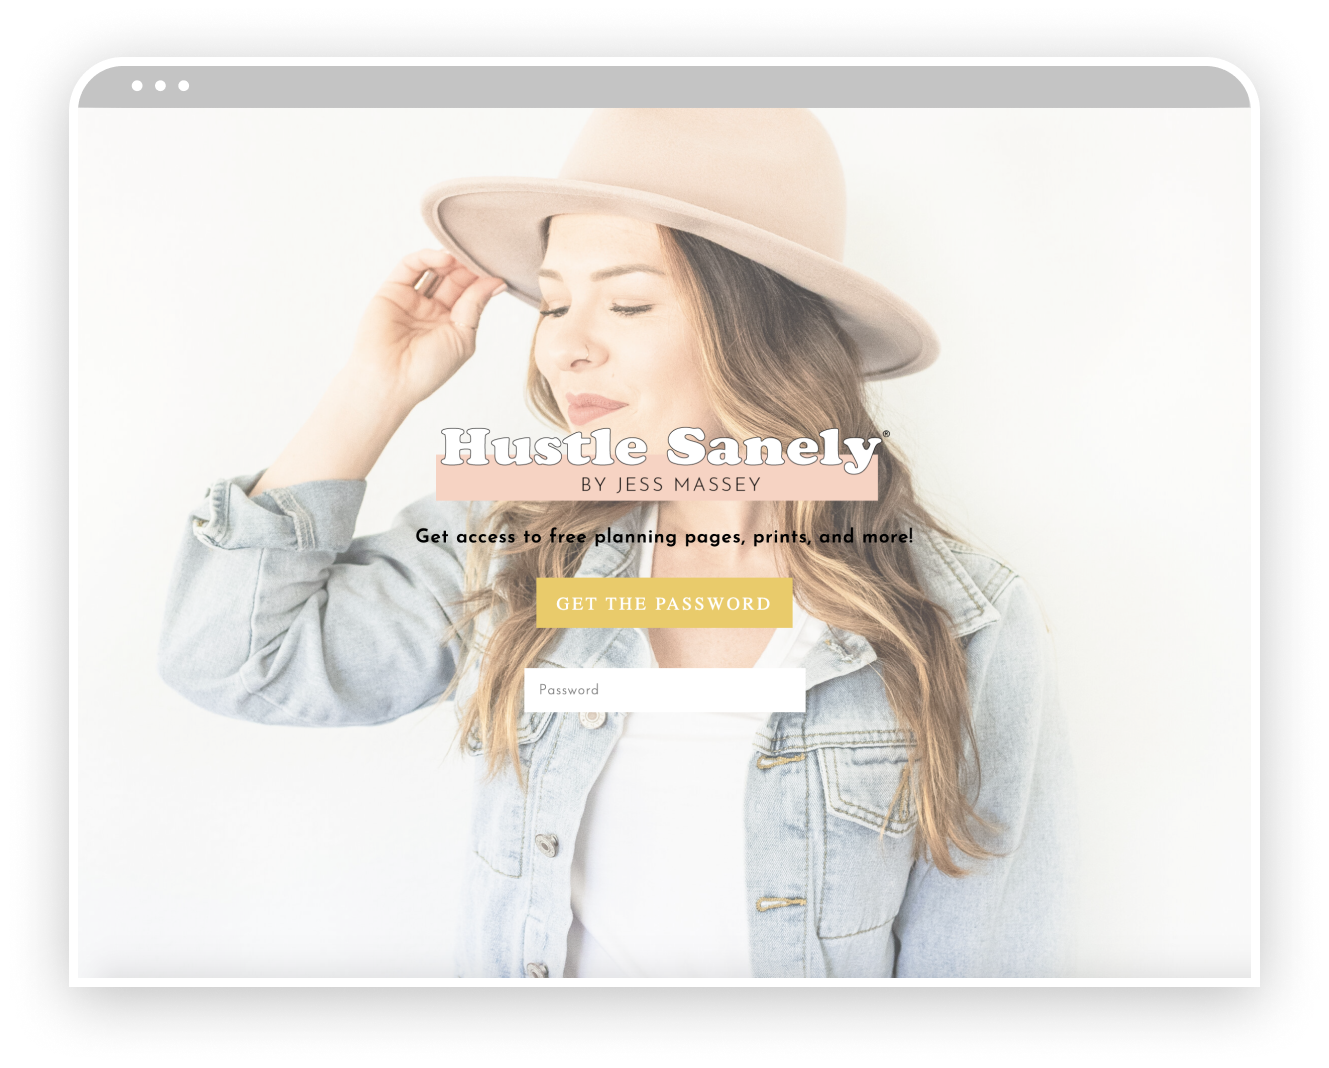
Step 8. Style Your Lock Screen
This is another tutorial for another day, but you can find your lock screen styles under the Design menu in both 7.0 and 7.1! Here’s a screenshot of Jess’ lock screen as an example.
Step 7. Create a signup list and workflow so people can get the password!
This isn’t part of the tutorial, but to grow your email list with a free goods page, you’ll need to setup this workflow in your email marketing platform.
That’s it! Hope this helps you share all the incredible resources you create with your ideal clients!
That’s it! I hope this helps you share all the incredible resources you create with your ideal clients!
