Optimize Your 404 Page in Squarespace
What’s a 404 Page?
You’ve probably been on a webpage before, and clicked a link you were excited to visit. However, you didn’t land on the page you were expecting; instead it said something like, “Error 404: Page not found.” 404 Pages occur when the page either doesn’t exist anymore or when that page has since changed it’s URL (but the original link you clicked didn’t get updated). Unfortunately, this happens frequently—especially when you’re DIY-ing your website, changing pages, and tweaking to get things just right. Here’s what Squarespace’s default 404 page looks like:
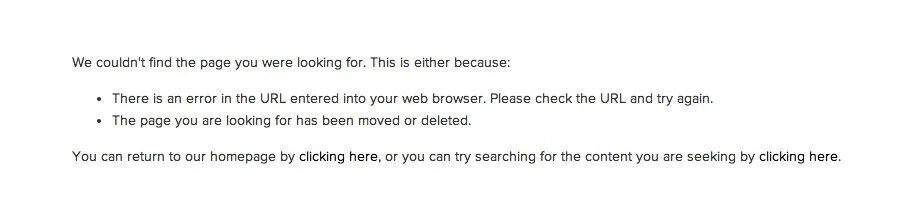
…And that’s pretty sad. Right?
The good news is—we can optimize this 404 page and make it work to our advantage! How? By creating our own custom 404 page.
Here’s how:
Step 1. Add a New Page
In your “Not Linked” section, create a new page (just a regular old blank page) and call it 404. This page will be what visitors stumble upon when a link gets broken on your site.
Step 2. Add Your Content
1. Add a title or heading ✏️
You might want to included “error 404” as many people know what this means, but you could include a basic header too. My heading says “Sorry, that page doesn’t seem to exist.”
Add this by simply adding a Text Block, entering your text, and making it one of your styled heading options.
2. Add a Search Bar 🔎
This is always a good idea, because then rather than having to go through all your blog posts again, or look through your menu, your visitor can type in exactly what they were looking for.
You can add this by adding the Search Block, located under the section called “Filters & Lists”. There’s a few customizations here, but make sure you set the search bar to search the entire site (rather than just one page).
3. Add other important links 🔗
You can never have too many call-to-action buttons, so why not put some here too? Linking important content on your site (shop, blog, contact page, etc) can be great for driving traffic there—especially if your visitors found this 404 page from an external source and have no idea who you are or what you do!
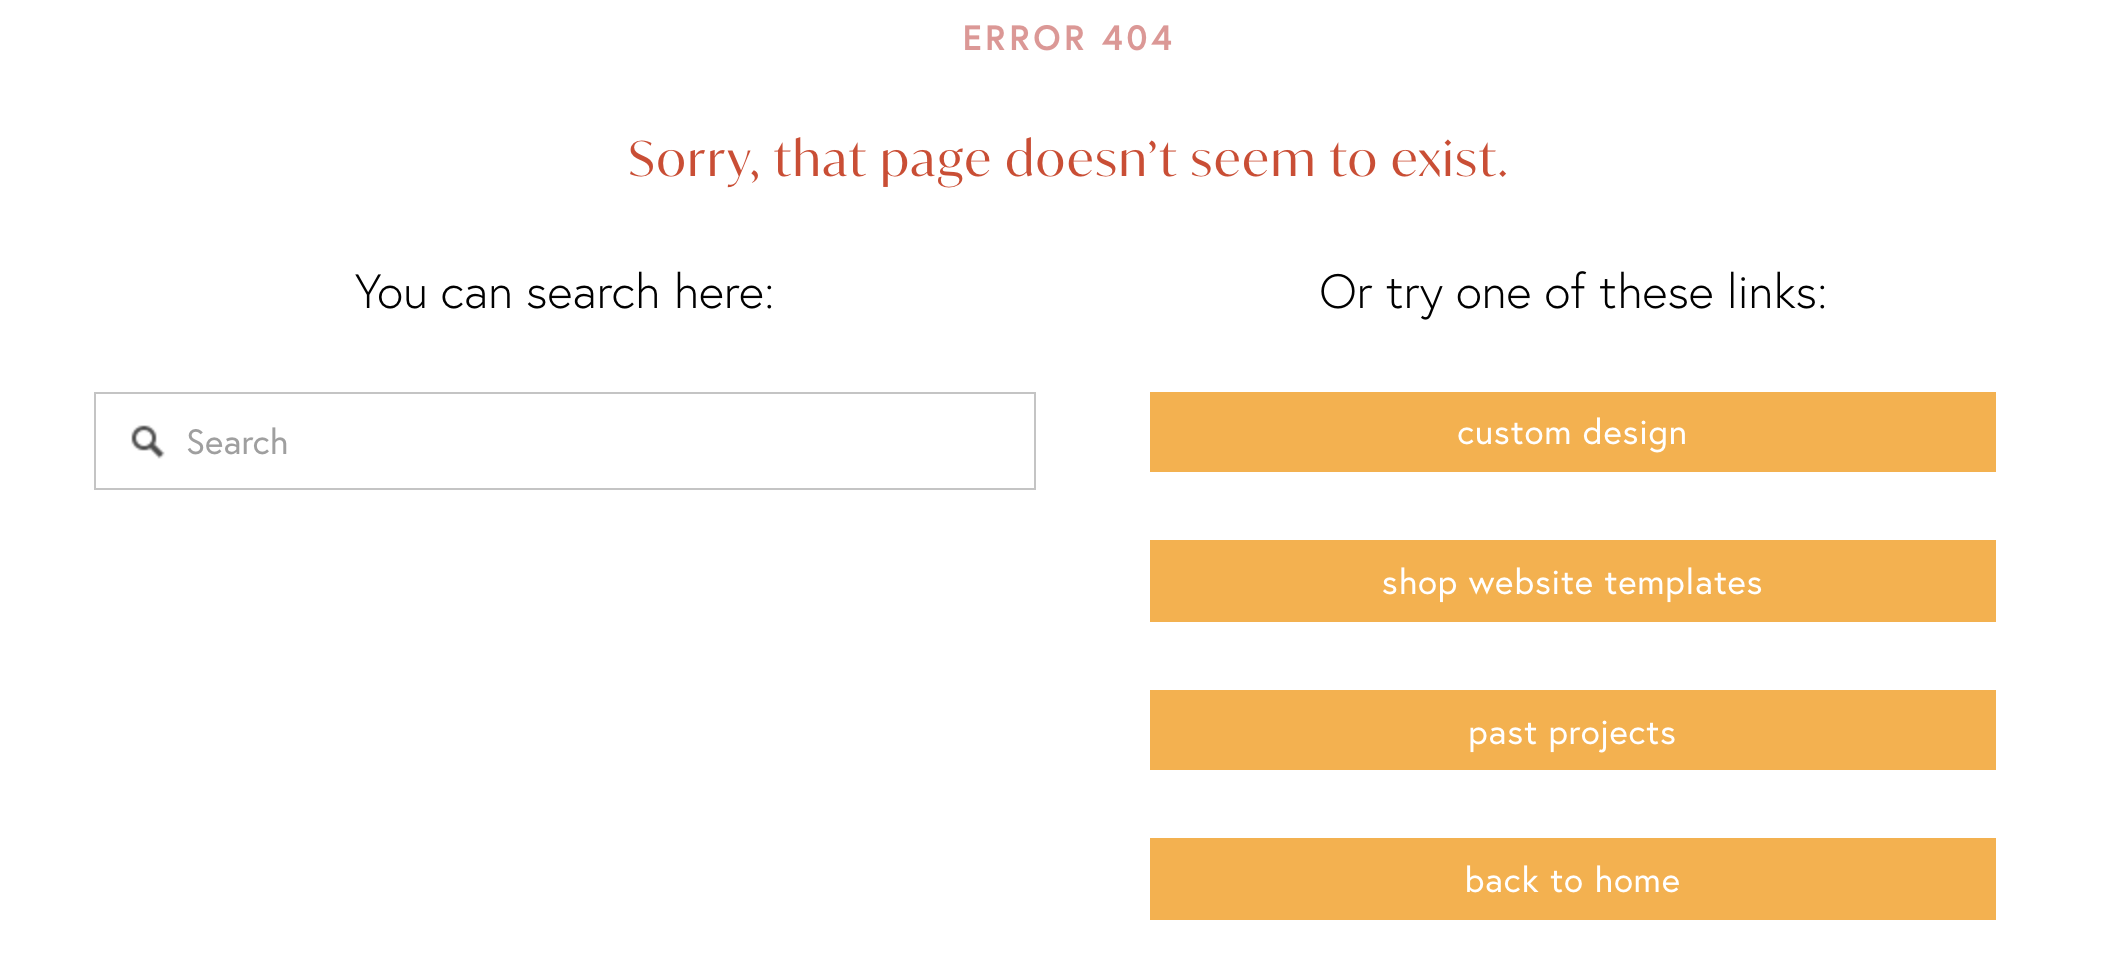
Here’s Blooming Design Co’s 404 page:
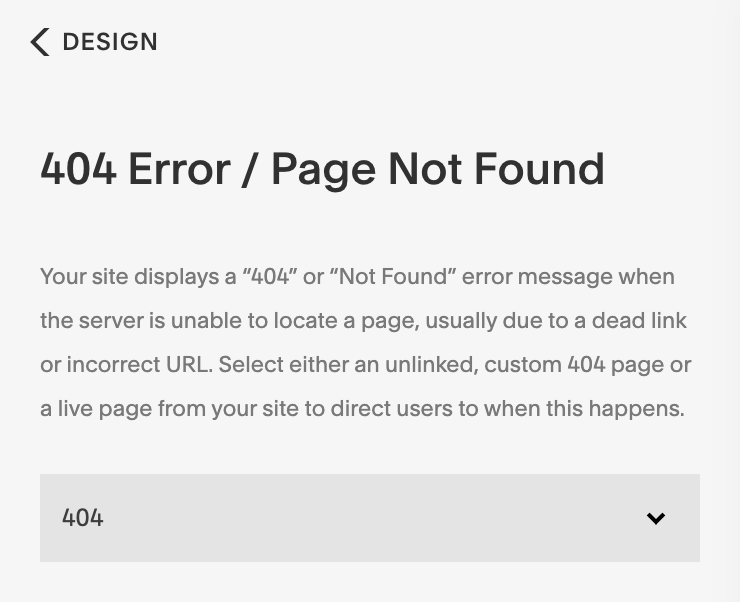
Step 3. Set Your 404 Page
Now go back to your website’s main menu. From there, go to Design > 404 Page. From the dropdown menu, select the new page you just built. Voila! Your new 404 page is optimized and ready for lost virtual travelers.
Step 4. Test It Out
If you want to test it out, just head to your website in a new window. After your domain, enter a / and type a few random letters (aka—a page slug that doesn’t exist on your site). You should see your new 404 page (and know where to go next 😉).
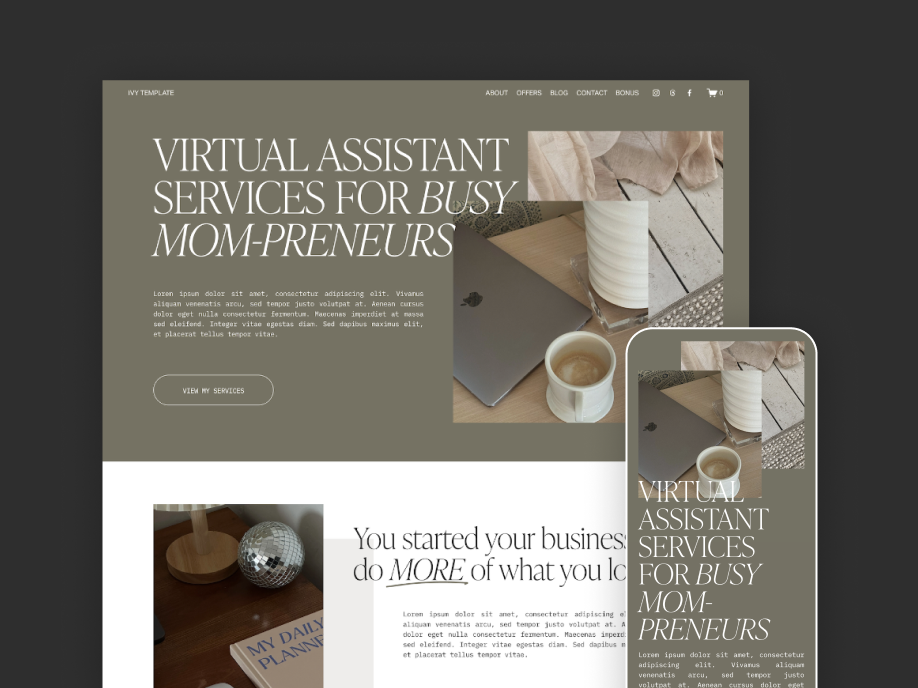
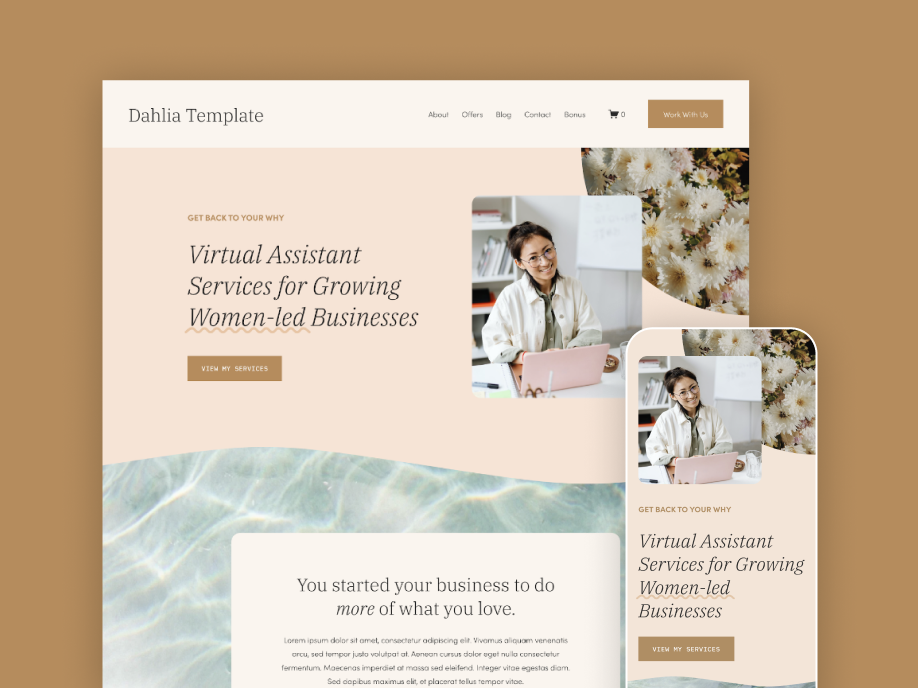
Feeling overwhelmed trying to figure out all the pages you need for your website?
Check out my Squarespace Templates for Virtual Assistants! They’re a plug-and-play, fast way to launch your website. Stop googling and guessing and grab a template.