
Create a Mood Board +3 Free Canva Templates
I love mood boards because they’re so versatile.
You’re redecorating your bedroom? Mood board.
You have an artsy class project you need to brainstorm? Mood board.
Planning the most aesthetically-pleasing wedding? Mood board.
You’re trying to change your mindset about the year? Mood board.
You know you need to rebrand, but you don’t even know what you like or who you are! You guessed it—mood board.

Why I Use Them
They’re fun to create, versatile, and look great on social media… but here’s why I use them:
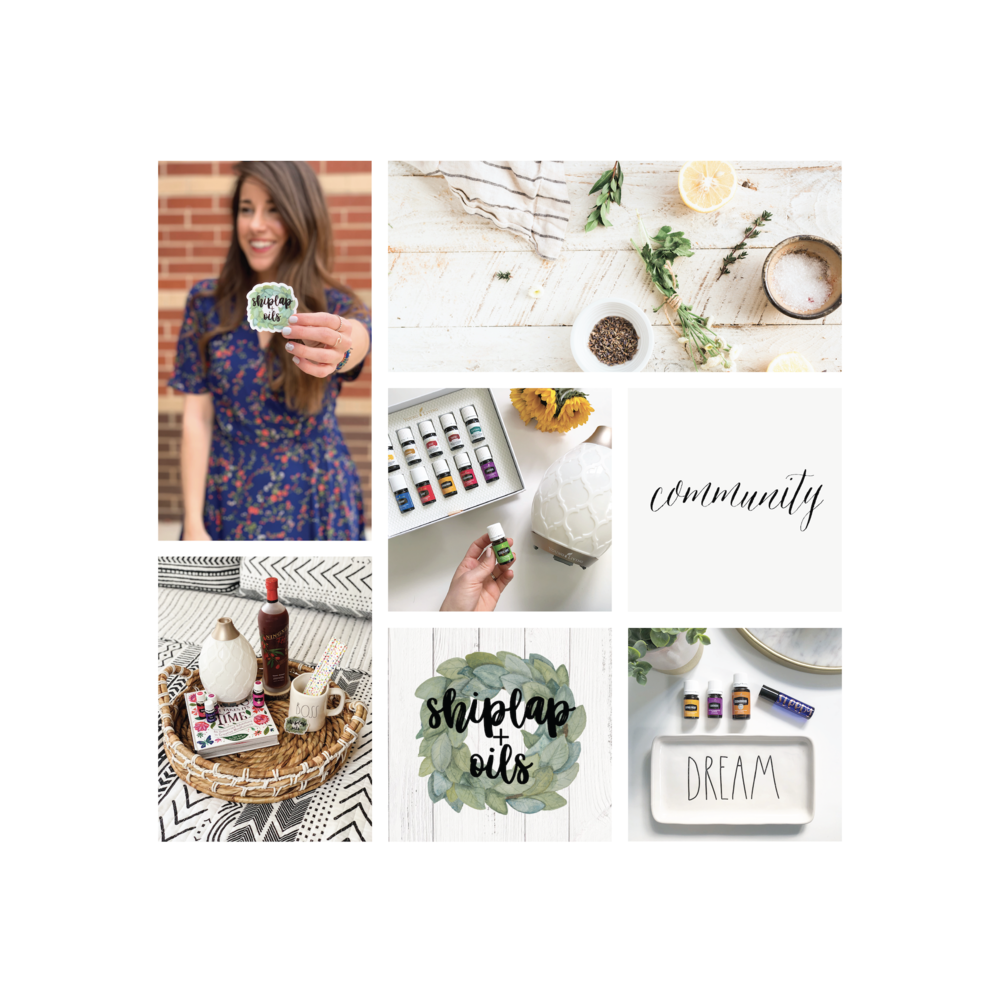
When I’m dreaming up a client’s website, it’s really helpful for me to visualize it all. Not only can I gather lots of inspiration, colors, images, backgrounds, photos, and then pick what I like, but then I actually have a physical compilation to pitch to my client, without hours spent designing the website itself. I show them the board and ask, “Is this you?” and “Do you love it?”
I’ve been super fortunate to mostly hear back, “Oh my gosh, that’s exactly what I was picturing! How did you do that?!” And to that I say, “Let’s GO!”
But sometimes I do hear, “Hmm, I was thinking maybe warmer colors than what you have there,” or “I don’t love those hand illustrations or that style.” And what is my response to that? “Awesome! Let me try again to make something that feels like you!” It’s their site, and they should love it. And the best part is that I haven’t spent hours and days designing something online that they don’t actually feel represents them.
It also helps me towards the end of the project. I can compare the mood board to the design of the website I just created, and ask, “Does this website represent the mood board well? Does it match?” And if it does, I’m good to go!
So let’s get started!
Step 1. Collect ALL the Inspo!
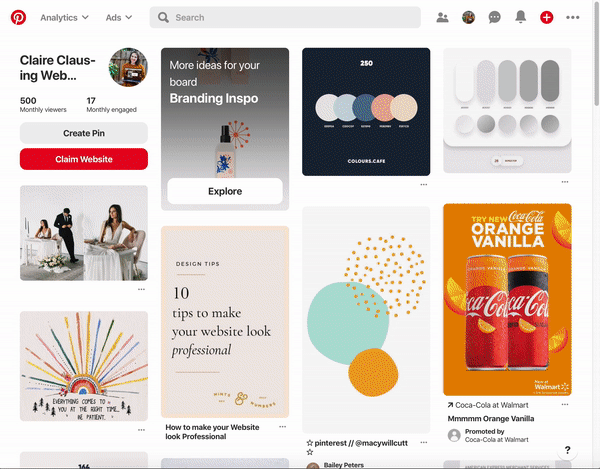
This is my favorite part, and where I start with each website I make. I go to Pinterest (if you’re not already there, then GO) and create a private board for my new client. Then I start my search!
What types of things should I look for?
Here’s some things I look for, but this is not exhaustive at all:
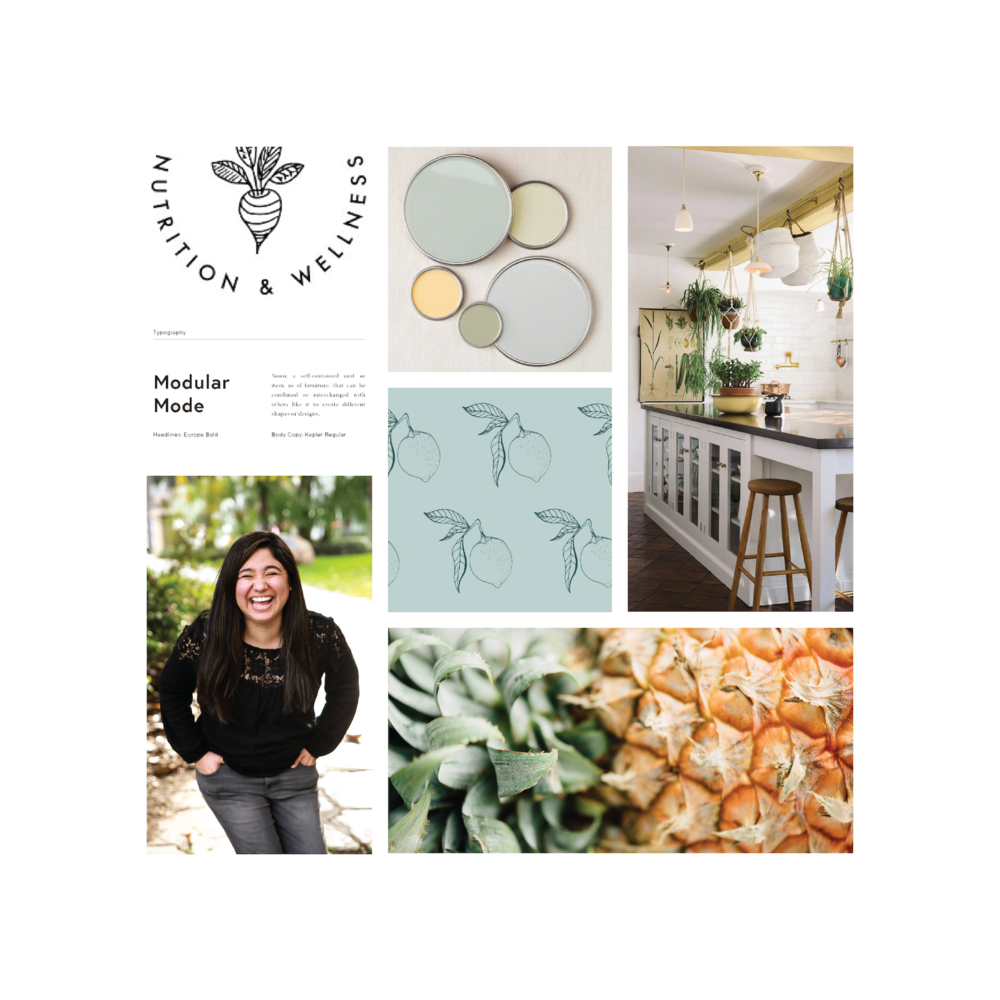
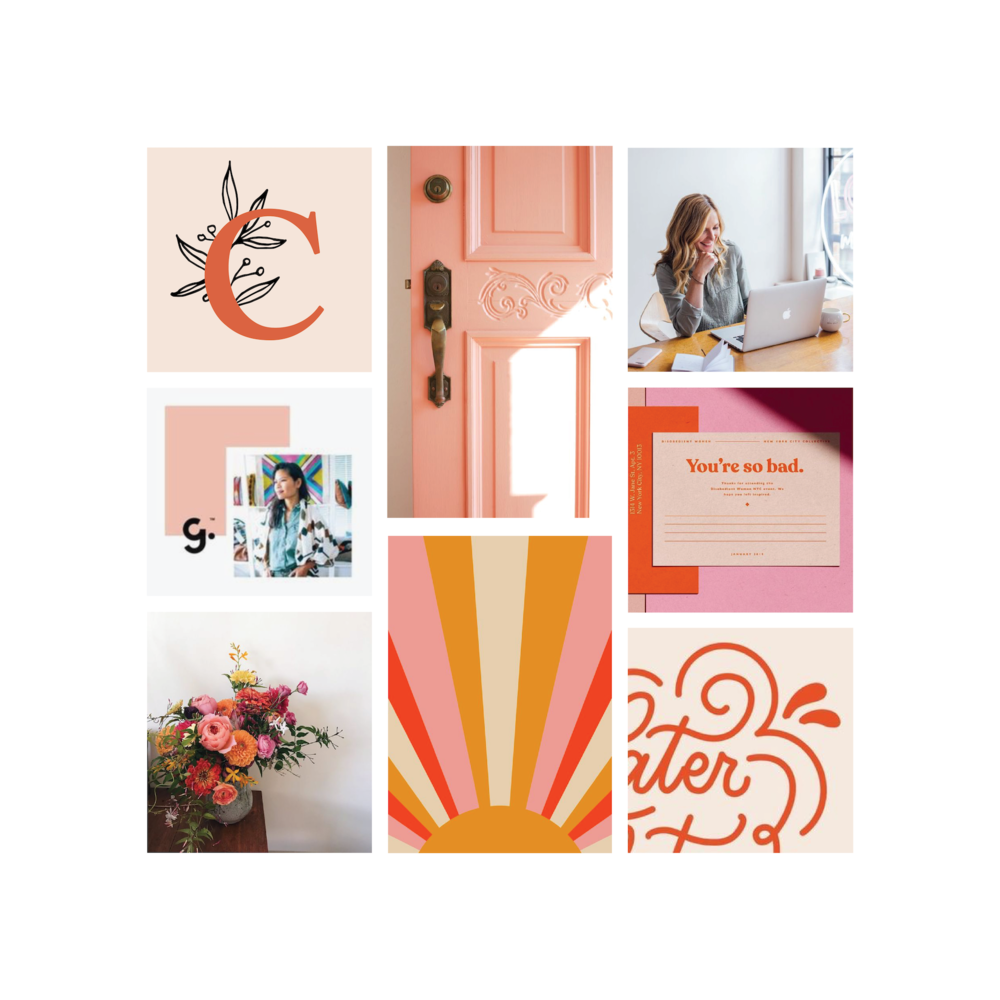
color palettes
brand photography ideas
font styles
textures
inspirational quotes
other brands’ mood boards
room decor
stock photography
And I think it’s fun if the pins are all different sizes—some vertical, some horizontal, and some square. It’ll create depth and variety on your finished mood board!
What should I put in the search bar?
It’s ok to not know where to start! This part really depends on what you’re brainstorming for. Maybe you’re rebranding and already know the color scheme you want to go with: you could search something like “earth tones color palettes” or “blue and white graphic design”. Maybe you’re a nutritional consultant building a website, so you’d search something like “nutrition brand photography” or “clean kitchen” or “nutrition branding”.
Whatever you find, make sure you save it! This can take minutes, days, weeks—however long you want. You can even share the Pinterest board with others to make it a collaborative effort.
TIP: Edit the description of the pin and jot down exactly what you liked about it!
Other great sites for inspo are dribbble (designers displaying their work), unsplash (free stock photography), designspiration.com and instagram!
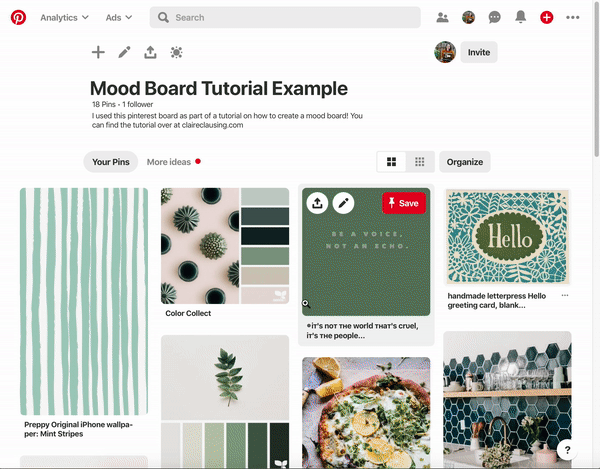
You can see the mood board I created for this example on Pinterest here.
Step 2. Narrow Down + Save
Now that you have all these ideas in one place, it’s time to pick what you want to use for your brand.
Go back through and reevaluate. Maybe something you pinned 2 weeks ago that doesn’t actually match where you’ve decided to take your brand. Maybe you’re like me and change your mind a lot! Go back through and make sure everything you have makes you happy and reflects what you’re trying to achieve. You can delete pins by selecting the edit tool and clicking delete.
For the next step, you’ll need to have the pins somewhere on your computer. If you have a Mac, you can click to open the pin, then simply drag the image to your desktop. Another way is by right clicking on the open image and selecting Save Image to “Downloads” like I’ve done here on the right.
Step 3. Canva Time
The moment you’ve been waiting for—it’s Canva time!
Getting Started
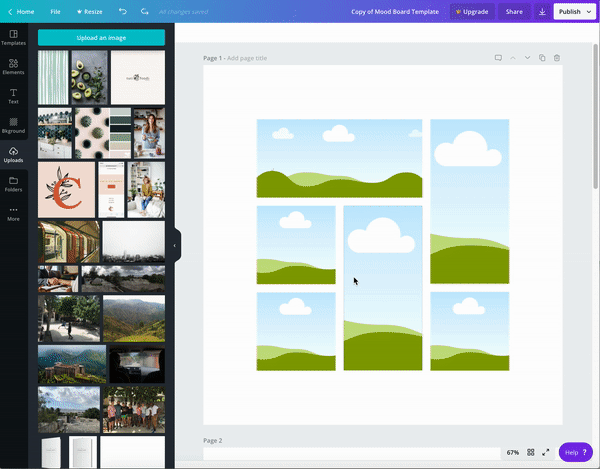
Click the button at the bottom of this post to get to my pre-made mood board template!
You’ll have to be logged in to Canva already, and a little pencil icon should show below the image. Click it, then select Use template
Import your images. You can do this by heading over to the uploads tab on the lefthand side, and either drag in your images or select “upload an image” to find it on your computer.
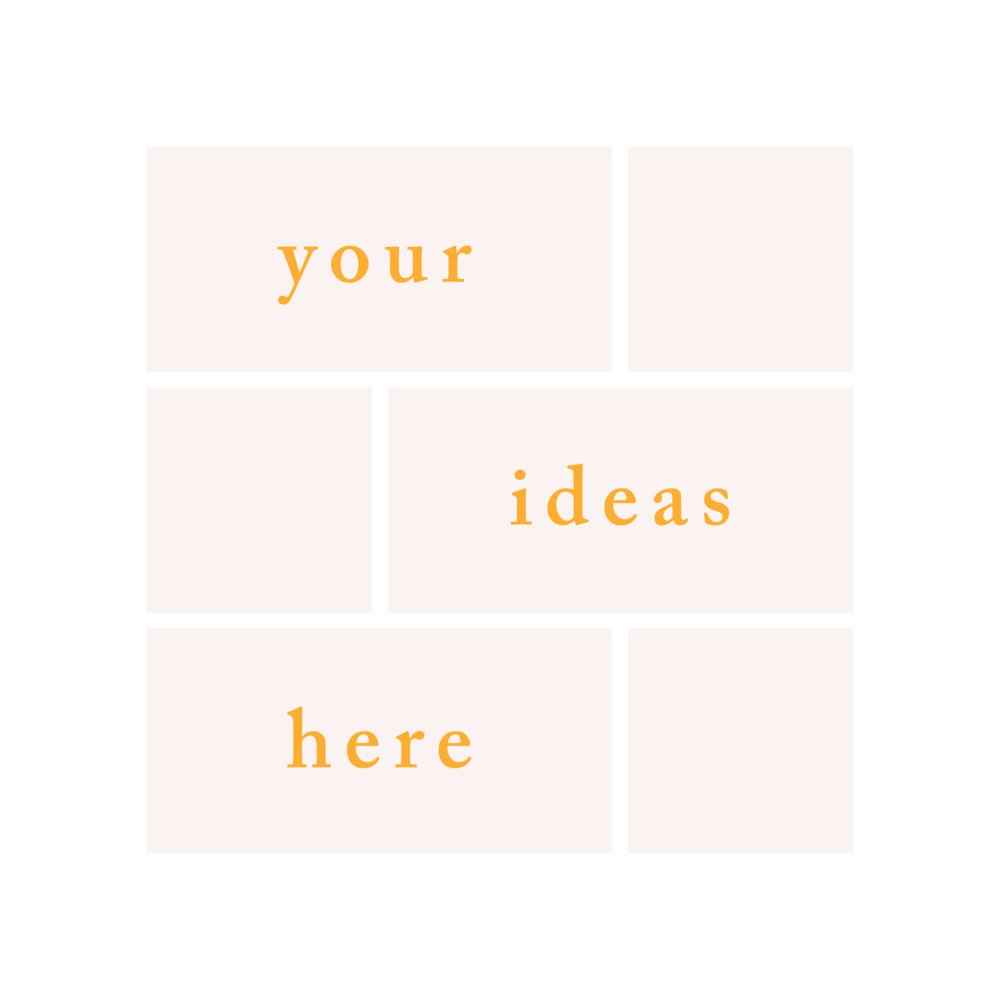
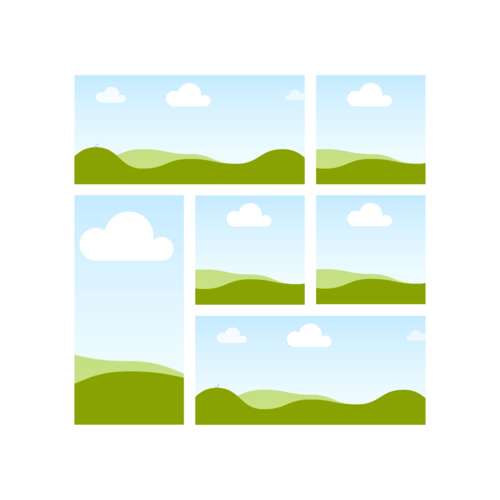
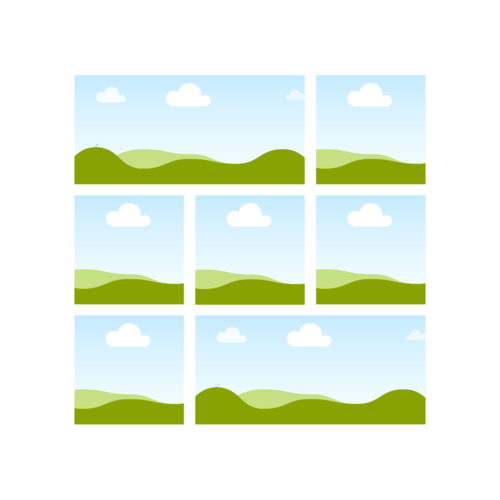
Select Your Template
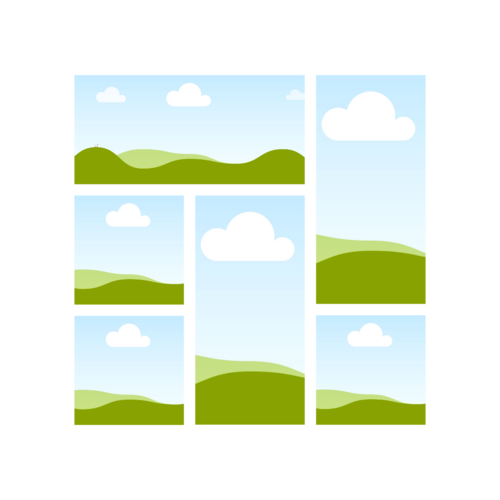
If you scroll down in Canva, you’ll see there’s three different template options. Sometimes I find I need more horizontal spaces than vertical, or vice versa. Pick from these three options—or hey, drag them around to design your own grid! The options are endless.
You can also go to Elements > Grids > All to see some of Canva’s pre-made grids. I didn’t like any of those so decided to create my own! Feel free to use whatever is you.
Start Designing
Now you have all the tools you need to create you mood board! Start dragging those photos over to the grid.
To resize a photo in the little grid box, double click it and reposition or resize it.
Step 4. Share Your Ideas with the World!
When your mood board is what you want, you’re finished! Head up to the download button in the top right of the screen, select PNG and the correct page, then download. You now have your mood board saved to your computer/phone, ready to share with the world! And the best part is, that template is yours now too! You can create as many mood boards as you want, over and over again.
I hope you enjoyed this little tutorial and have as much fun creating these as I do! Thanks for stopping by, and be sure to check out my blog if you’re ever looking for blogging tips, Squarespace tricks, and everything in between!
I would LOVE to see all the mood boards you create! If you end up sharing one, tag me on instagram @bloomingdesign.co or use the hashtag #moodtorial!